 Meet Eustacia Vye:my precious and unique beauty, made by Pashley and customised by the fine people at Harris Cyclery. If you are familiar with the works of Thomas Hardy, you probably got the reference of the name. (If not, read Thomas Hardy!) Eustacia roams the heaths and meadows with wild abandon, seducing those whom she encounters with her regal beauty. And she is excellent in Boston traffic.
 Here are the front and back views. If you are interested in how I came to select this bicycle, you can read about it here.
 I. THE BICYCLE:
The Pashley Princess Sovereign is a classic "loop-frame" ladies bicycle. It comes standard with fenders, a fully enclosed chaincase, dress-guards, a heavy-duty black Pletscher rack, a hub-driven dynamo headlight and an LED rear light, a Brooks B66S saddle (sprung, suspended leather), enclosed hub brakes, puncture-resistant Schwalbe Marathon Plus tires, a pump attached to the frame with braze-ons, an "O-Lock" for the back wheel, a "ding-dong" bell, and an enormous wicker basket. My Princess is the 20" frame (51 cm), which fits my 5'7" (170 cm) proportions perfectly. Standard specs for the Princess Sovereign can be viewed on Pashley's website here.
 For those not familiar with Pashley, they are an English manufacturer and have been making traditional bicycles since 1926, specialising in transport cycles and classic English roadsters.
 A close-up of the Pashley headbadge.
 This is a traditionally lugged and brazed handbuilt frame. The frame is powder-coated and the paintjob is very durable (a powder coated finish will scratch and scuff, whereas a liquid-coated finish will chip). The Princess is available in two colours: "Buckingham Black" and "Regency Green." I chose the green, because it seemed to have a stronger personality, and because I generally like green bicycles. The shade is a dark and subdued "British racing green".
 Pashley bicycles are made in Stratford-upon-Avon, England. Some cool photos of their factory, including the brazing process, can be viewed here.
 II. CUSTOMISATIONS:
As mentioned earlier, many customisations have been done to this bicycle. Here they are, not at all in the order of importance or magnitude:
Dress-guards: We replaced the standard dressguard pictured here with a netted dress-guard I bought in Germany. I wanted a dressguard that resembled latticed wroght iron rather than transparent plastic. This one certainly does. It also covers more of the wheel than the original dressguard.
 Here is a close-up of the netting over the chaincase...
 ... and around the opening for the "O-Lock". The O-Lock is a European locking system that locks the rear wheel, making the bicycle impossible to be ridden away by a thief. In most areas in the US, it is probably prudent to use this for supplementary purposes only.
 Kickstand: We replaced the standard Princess kickstand with the Pletscher Twin-Legger, which provides support on both sides of the bicycle and lifts either the back or the front wheel off the ground (you can adjust the balance to determine which).
 Not all bicycles will accommodate this kickstand, but the Princess has a special braze-on below the bottom bracket for this purpose.
 Grips: We replaced the standard Raleigh-style plastic grips with Brooks leather washer grips in brown. These are probably the most comfortable handlebar grips I have ever tried: They provide just the right amount of texture, softness, suppleness and durability. And they look gorgeous!
 Gearing and Brakes: But wait, what's this next to the right grip? The Princess Sovereign comes with a Sturmey Archer 5-speed hub. Mine has been replaced with a 7-speed Shimano Nexus coasterbrake hub (and yes, the gear-shifter has been twined and shellacked). This is by far the most dramatic customisation, and I cannot thank Harris Cyclery enough for doing such an amazing job.
 I wanted a coaster brake on the back wheel instead of the (hand-operated) drum brake that Pashley bicycles normally come with. Most people would have been glad to have the standard hand-operated brake option, but I wanted a coaster brake due to some problems with the nerves in my right hand. I can operate a hand-brake, but in stop-and-go traffic a coaster brake is more comfortable.
To accommodate this, the wheelbuilder at Harris Cyclery rebuilt the back wheel of the bicycle. This was done so impeccably, that it looks stock and absolutely flawless. I also asked Harris to set the gears lower, to make it easier to climb hills. They used a 23-tooth cog, which provided the lowest setting possible, given the enclosed chaincase. The 2 extra gears that came with the Nexus hub were pretty helpful in the hill-climbing aspect as well!
 The front wheel retained the original Sturmey Archer hub dynamo/drum brake.
If you're confused, this means that I have a hand-operated front-wheel brake on the left handlebar, a 7-speed gear shifter on the right handlebar, and a coaster brake on the back-wheel that is operated with the feet by pedaling backwards.
Lights: We have added extra lights to supplement the standard lighting system.
Saddlebag: Not exactly a customisation, but the bag on the rear rack is a Carradice Barley. I absolutely love these remarkably roomy and attractive bags.
Initially, I had considered also replacing the basket and saddle, but on further testing decided to keep the originals. Please note that the 20" and 22.5" frames apparently come with a larger and more sturdy basket than the 17" frame.
 III. IMPRESSIONS:
My first impressions of Eustacia can be summarised as "gorgeous, fits me perfectly and rolls like a dream... but unreasonably heavy". I had tested the Pashley Princess before purchase and had also tried several Dutch bikes -- so I thought I was prepared for the weight. But that was before I had to carry it up and down the porch stairs every time I wanted to ride it. I admit that during the first few days of ownership, I cursed and despaired, gave myself many bruises, and almost fell down the stairs a couple of times under Eustacia's weight. I was pretty upset about it and could not reconcile the fact that I had the most beautiful, elegant bike in the world and found it unmanageable.
Then, after a week, something magical happened: The bicycle miraculously lost weight! Well, either that, or I developed arm strength. Either way, carrying it up and down the porch stairs now takes only a couple of seconds and I take it in stride. Do I wish it were a lighter bicycle? I honestly cannot say for sure: Its weight also contributes to its stability, comfort on the road, reliability in traffic and tank-like indifference to pot-holes. (Edited to add: See also this post about speed.)
 A summary of pros and cons:
Pros:
. stunning looks
. quality construction
. utilitarian add-ons
. luxurious accessories
. curved step-trough frame for easy on-off with skirts
. roomy and well-proportioned, with 3 frame sizes to choose from (I am 5'7", got a 20" frame, and can just reach the ground with my toes in the lowest saddle position).
. upright posture for relaxed riding, great views of surroundings, and visibility to traffic
. enclosed hub brakes make it weather resistant
. puncture-resistant tires are pretty much indestructible
. super stable
. handles extremely well in traffic
. sneers at pot-holes
Cons:
. heavy (specs state 45lb, but more like 50lb once you add accessories)
. not "agile" or sporty by any means; slow to accelerate
. upright posture restricts speed and uphill cycling
. saddle adjustment can be tricky with a "sliding off effect" unless perfectly tweaked
. if you are a private person who dislikes being approached by strangers, you might be overwhelmed with the attention this bike will get you. I get an average of 2-3 comments each time I take it out of the house.
 IV. CONCLUSIONS:
The Pashley Princess Sovereign will give you elegant utility, with the bonus gift of increased upper body strength. As a town-and-country bike and a transport bike, it is a success. An agile, sporty bike it is not (and to be fair, does not claim to be). As with any bicycle, you can always customise components, which includes lowering the gears if you live in a hilly area. Enjoy the city and the meadows, and be prepared for lots of attention when people see this bicycle!

Edited to add:
Since this review, I have aded updates that may also be useful:
Pashley Princess as winter bike
Pashley Princess after some modificationsPashley Princess with cream Delta Cruiser tires
For other perspectives on the Pashley Princess, you may also want to check out...
.Miss Sarah atGirls and Bicycles
.Sigrid atMy Hyggelig.Michael atEcoVelo
.Lorenza atWhere Do Roots Belong
.Dottie atLet's Go Ride a Bike





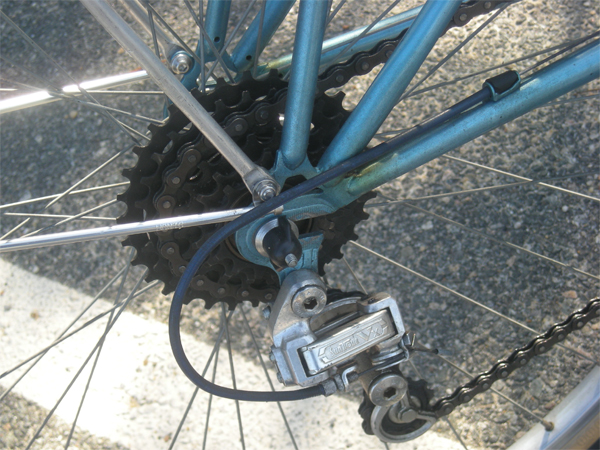 To recap the problem I was having: When downshifting to the lowest gear, there was nothing stopping the chain from going past it and slipping off the cog. Here is how we corrected this:
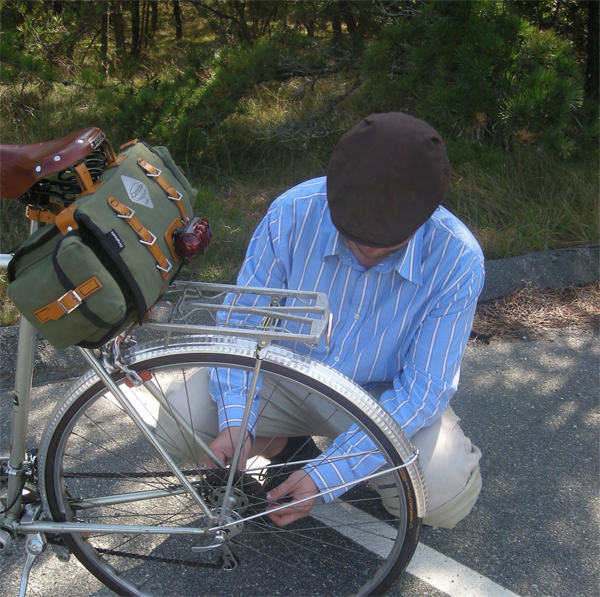 Mechanic
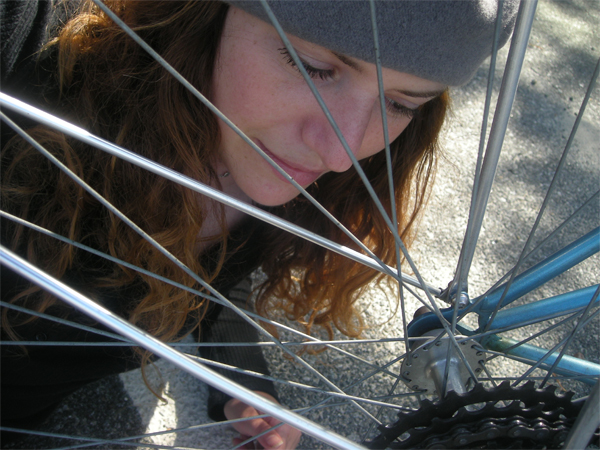 Assistant Mechanic
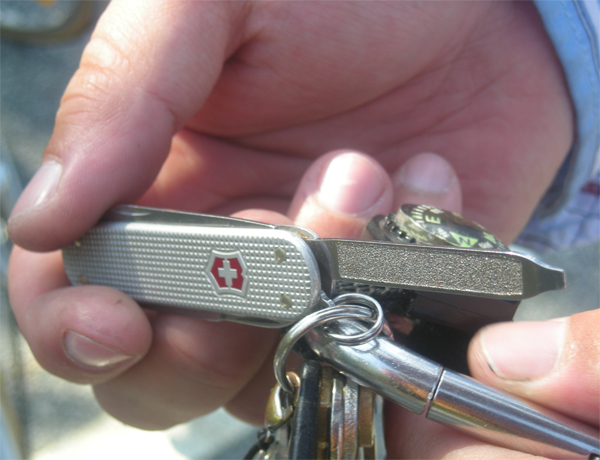 The all-important tool
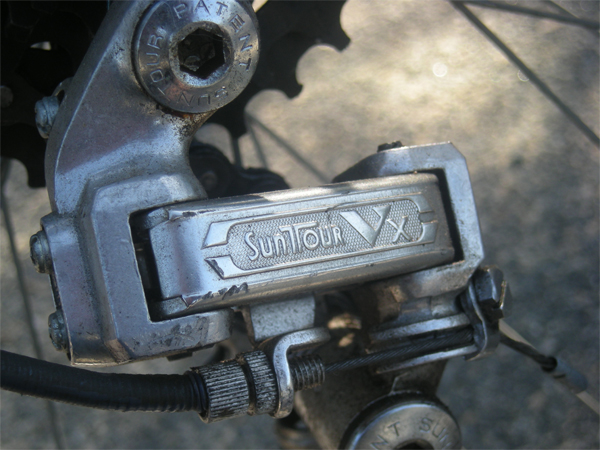 The derailleur. This is a rear SunTour Vx derailleur from the late 1970s. Note the two screws on the left.
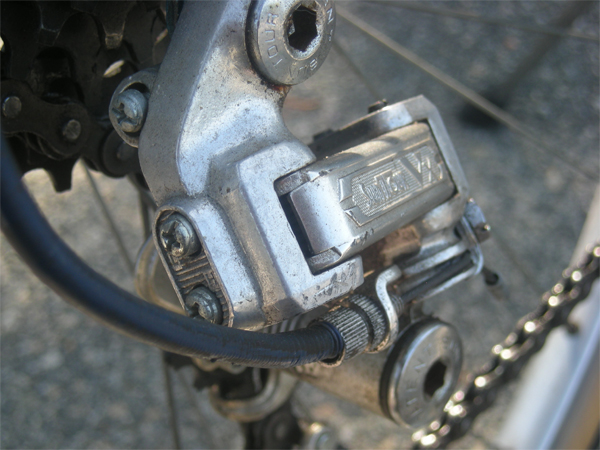 A side view of the screws.
 And here they are close up. Notice the letters "L" and "H" next to the screws. The "L" indicates low gear (the largest cog). The "H" indicates high gear (smallest cog). To stop the chain from going past the largest cog when downshifting into the lowest gear, tighten the "L" screw.
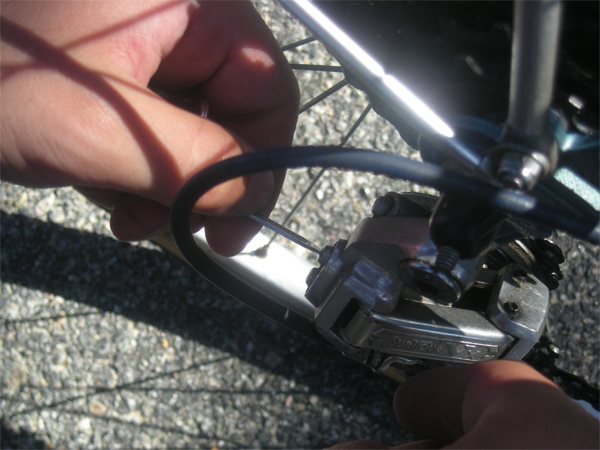 Here is the screw, being tightened. Conversely, if you find that the chain does not travel sufficiently to reach the largest cog when shifting to your lowest gear, you need to loosen this screw a bit. And if you are having this problem when upshifting to the highest gear, simply do the same thing to the "H" screw.
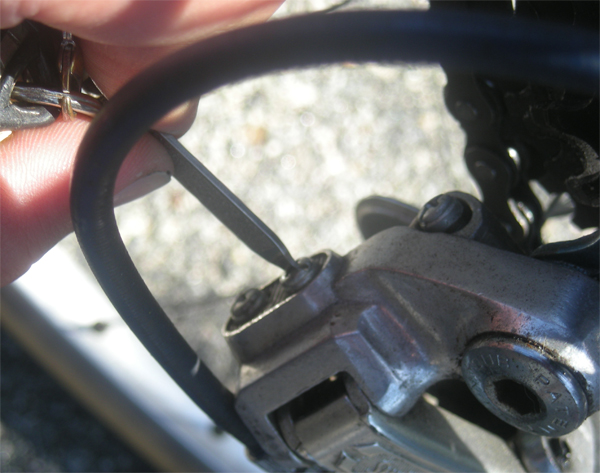 A close-up of the procedure. This takes very little time.
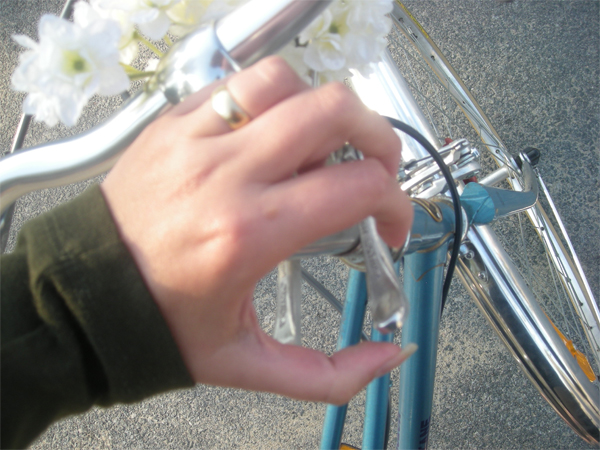 After the adjustment, test the derailleur: first by manually spinning the pedals as you shift, then by test-riding the bike.
 Here I am, having happily shifted into the lowest gear without the chain coming off.
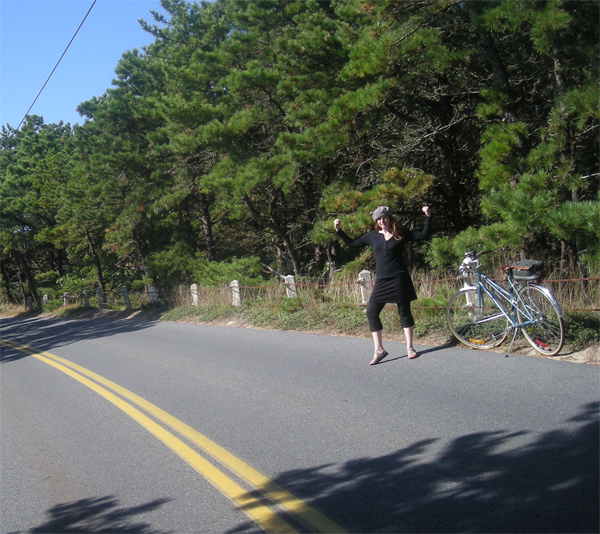 All done, and ready for the steepest hills. A big Thank You again to


 "Biker Chick". This t-shirt is sage green and features a drawing of a Mennonite(?) woman in a bonnet and apron, riding a step-through bicycle with a basket and baby chicks on the rear rack. (Take that, WSJ!) The size is marked "M", but I would say it is an XS-S - suitable either for ladies size 0-4, a child, or a very scrawny man. It is longish in the torso. 100% cotton.
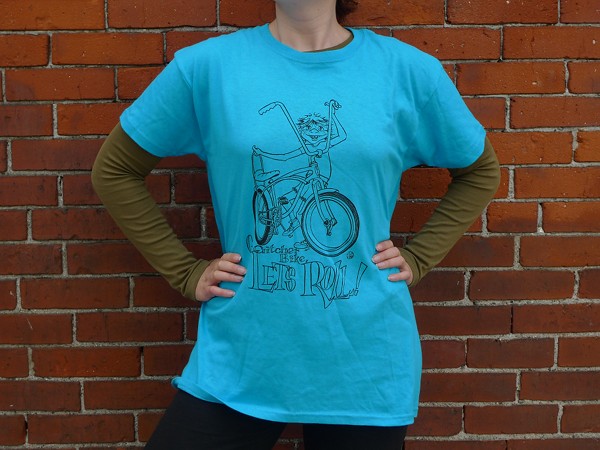 "Go Gitcher Bike, Let's Roll!" This t-shirt is bright turquoise and features a drawing of a mischievous boy, about to take off on his 1950s banana seat cruiser. The size is marked "L", and I would say it is a ladies' L / men's M. In the picture I am cinching it at the waist, but in actuality it is loose throughout. 100% cotton.


